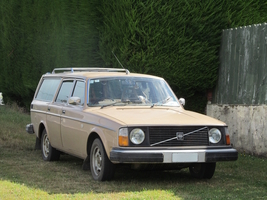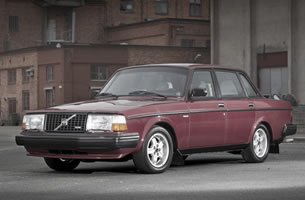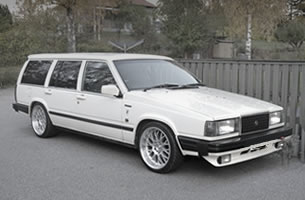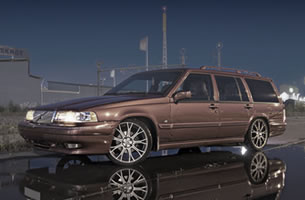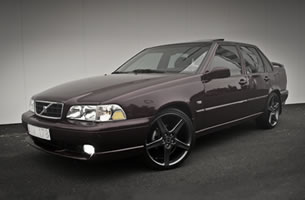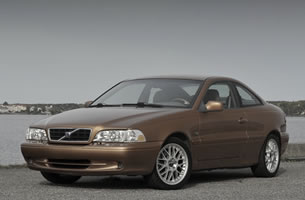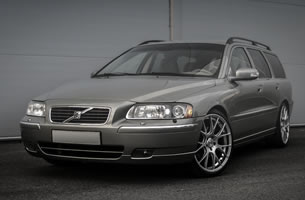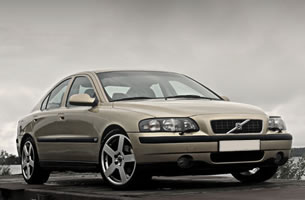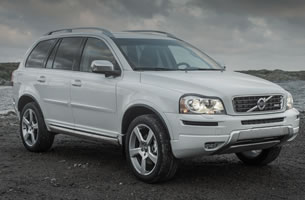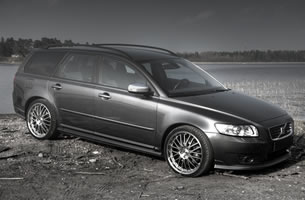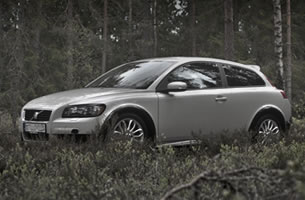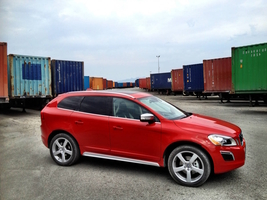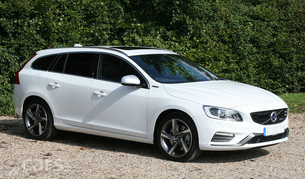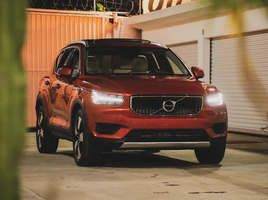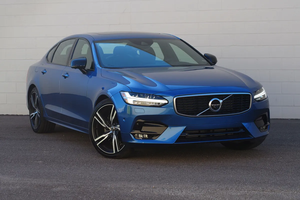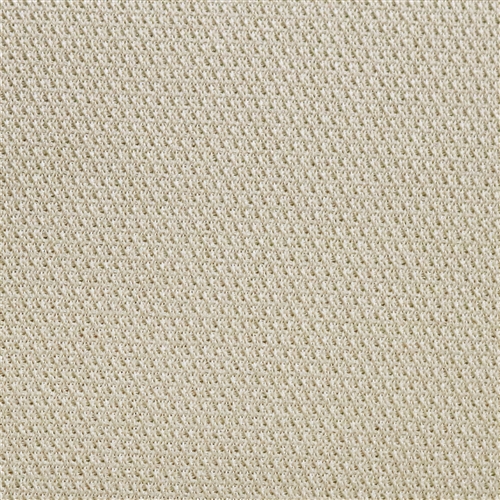
PART NUMBER: HKLPS2303
This headliner kit contains correct material that is 99% match to your old headliner It is a LIGHT GRAY color. 67 inches long . We include correct adhesive spray glue with the kit . The headliner has to be removed from the vehicle . Surface has to be cleaned from decayed foam .The spray glue for the headliner applications that you will purchase from your local parts store has instruction on the product label. We are including basic installation instructions with the kit. You will receive correct material . You will need to get the glue at your local store . we are not able to ship glue ..
Installing a car headliner involves removing the old material, preparing the headliner board, applying adhesive, and carefully fitting the new fabric for a smooth, professional finish.
Preparation
Before starting, gather the necessary tools and materials: automotive-grade headliner fabric with foam backing, contact cement or spray adhesive, screwdrivers, trim removal tools, spring clamps, and a scratch awl for alignment
Park your car in a well-ventilated area and remove personal items. Disconnect the battery when handling electrical components like dome lights
Protective coverings over seats and dashboards prevent damage from adhesive or tools.
Removing the Old Headliner
1. Pry off all trim, seatbelt covers, visors, dome lights, speakers, and any overhead accessories
2. Unclip or unscrew the headliner board carefully to avoid bending or breaking it
3. Peel off the old fabric and remove any remaining foam using a bristle brush or light sandpaper, ensuring a smooth surface for the new material
Installing the New Headliner
1. Lay the replacement fabric over the headliner board, smoothing out wrinkles. Fold half of the fabric back to work in sections.
2. Apply contact cement to both the fabric and the board, then press them together carefully
3. Roll or slide the headliner into the vehicle, starting from the driver’s side, and align it using pre-drilled mounting holes for the rearview mirror and visor
4. Use spring clamps to hold the headliner in place while securing it
5. Reinstall all trim, lights, and accessories, ensuring everything is properly aligned and fastened
Use gentle heat, steam, and tension techniques to smooth wrinkles in new foam-backed headliner material without damaging the fabric or foam.
Step-by-Step Methods
1. Pre-Installation Preparation
Lay the headliner material flat on a clean surface. If the material is dirty, clean it first to make wrinkles more visible and prevent debris from embedding in the foam or fabric
2. Gentle Heat Application
Use a hair dryer, heat gun on low, or a warm iron (with a towel between the iron and fabric) to lightly heat wrinkled areas. Heat relaxes the fibers and foam slightly, making it easier to smooth out creases. Avoid excessive heat, which can melt adhesives or damage the foam.
3. Steam Treatment
A handheld fabric steamer or a high-steam iron (with a towel as a buffer) can help relax wrinkles. Hold the steamer a few inches away and move it slowly over the wrinkled sections. Steam works best on minor wrinkles and helps the material conform to the headliner board during installation
4. Apply Tension and Smooth
While the material is warm or slightly steamed, gently pull it taut along its grain direction. Use your hands or a flat tool like a credit card to smooth out wrinkles. Repeat heating and smoothing as needed, being careful not to overstretch the fabric.
5. Edge and Corner Management
For stubborn wrinkles near edges or corners, pre-warming the material and carefully pulling it tighter before securing it to the headliner board can help.
6. Adhesive Considerations
use automotive headliner adhesive spray rated for heat to secure the material. Spray lightly on both the board and the fabric, then using a small paint roller with the foam roll to avoid creating tiger paw prints or creating new dents. Avoid gluing directly onto degraded foam, as it will not hold.
7. Sunlight Method (Optional)
For minor wrinkles, leaving the headliner in sunlight for several hours can help relax the material naturally. This is more effective in warm weather and for cloth headliners